
The weather for the past one week was humid and hot. I was just graving for a bowl of nutritious, comforting and 'cooling' soup for dinner. This soup is especially good to expel heat in your body and phlegm in your lungs. I enjoy eating plain rice with certain types of soup though not all and this is one of them that I like. My husband and I enjoyed the soup and we had it for our supper. The kids did not know how to consume the white fungus but they had 2 big bowls yesterday. I was hurried to take the picture and forgot to skim off the fat. Nonetheless, I skimmed it off before serving. The cashew nuts are very soft and pleasant to eat while the lotus seeds may leave behind a after-taste bitterness due to the stem in the centre of the seed. The bitterness is mild and it didn't bother us much. It didn't affect the taste of the soup though.
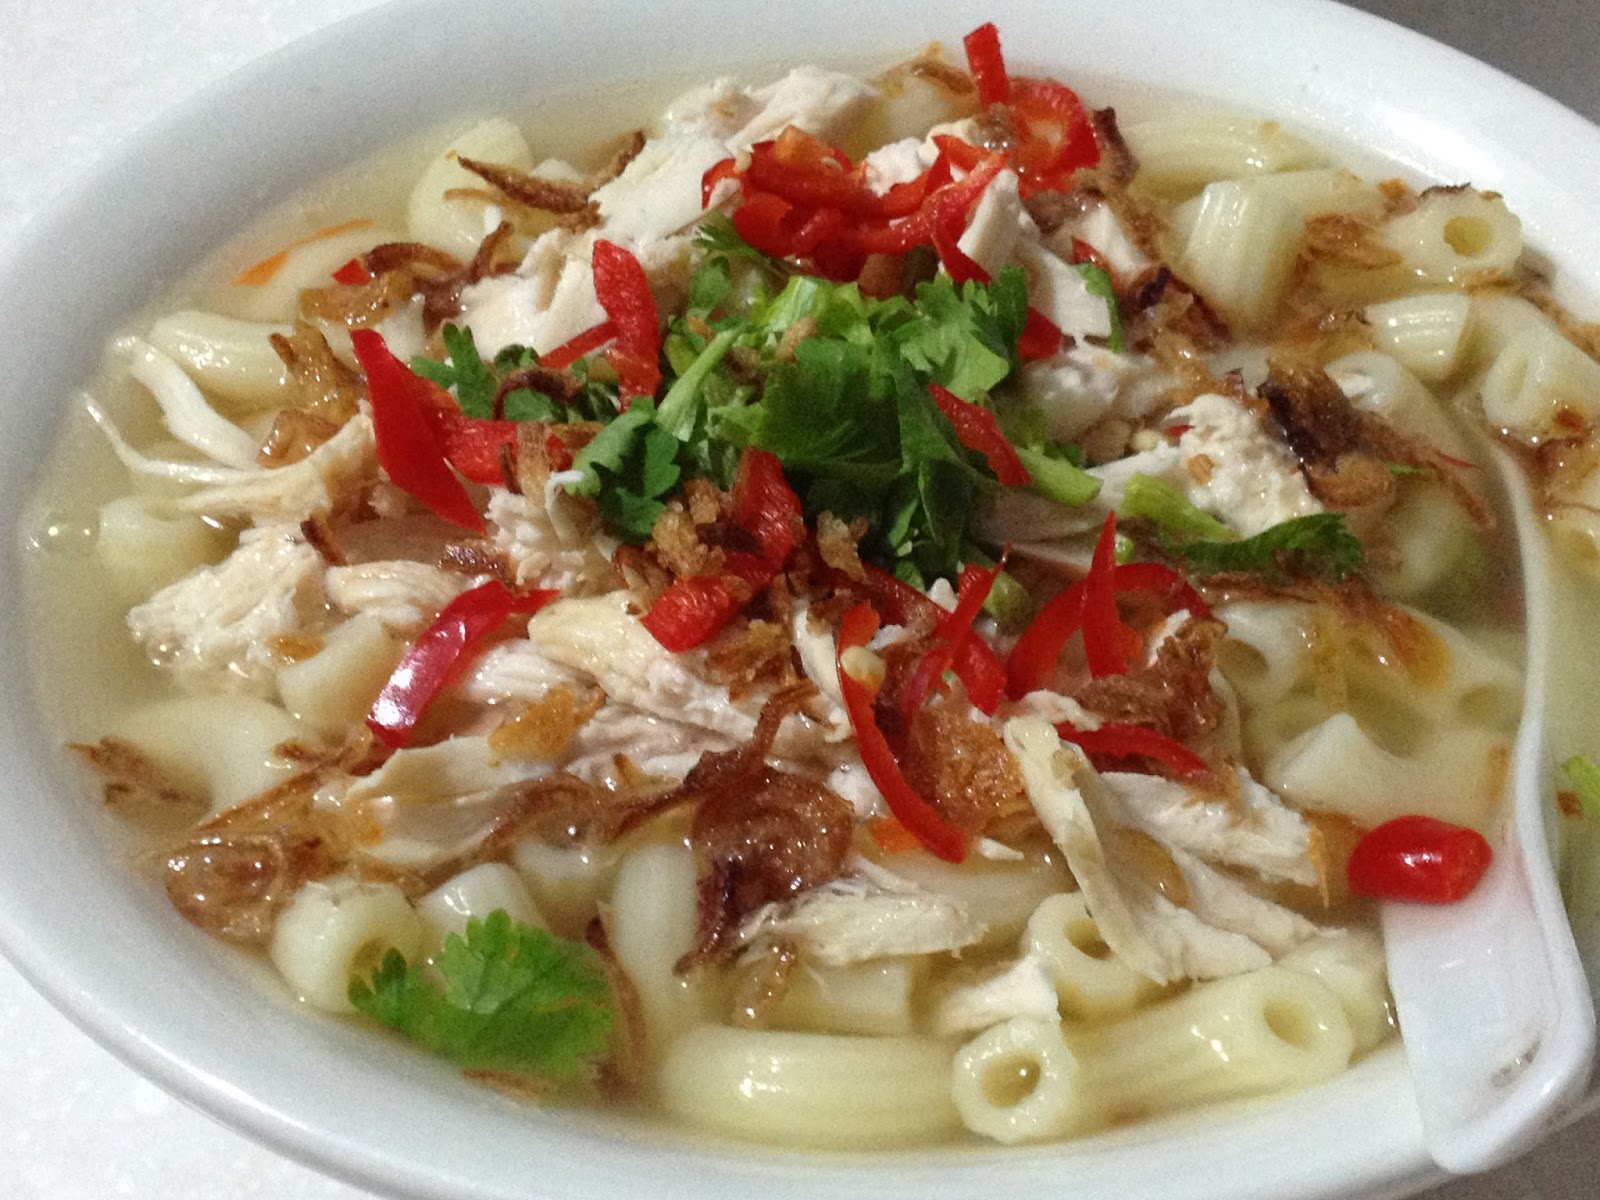
Chicken Soup with White Fungus and Cashew Nuts
Ingredients
1 bird of chicken (About 650g)
2 handful of white fungus
1/2 cup of raw cashew nuts
1/2 cup of dried lotus seeds
2 slices of ginger
About 10 cups of water
Salt n pepper to taste
Method
1. Soak white fungus for at least 1 hour in water (room temperature). Remove the hard part and break them into small pieces.
2. Soak the raw cashew nuts and dried lotus seeds for half hour and changing water a few times in between.
3. Put all the ingredient in a big pot except salt and pepper and bring it to a hard boil.
4. Skim off scum on the surface.
5. Slow down the fire and let it simmer for 2 hours
6. Skim off more scum and fat. Add salt to taste and pepper if you wish.
Notes:
1. Remove the skin of chicken to reduce fat if you wish.
2. Soaking fungus in hot water will cause it to turn soggy and slimy instead of chewy.
3. Buy white fungus that is not totally white but yellowish in colour as the white ones are due to bleaching.
4. The amount of water used must at least able to cover the whole chicken as a guide.
5. If you wish to have more texture for the white fungus, you may add them in after 1 hour of simmering and continue to boil it in slow fire for another 1 hour.
6. If you are familiar with some basic ingredients of Chinese herbs, you should know that this soup is quite versatile and good for lungs. You may add some of the herbs like red dates, wolfgang berries, 'Yu Zhu' (Solomon's Seal Rhizome), honey dates, dried longans and even apples or pears. To boost up the effect for phlegm remedy, you can add 'Chuan Bei' (Fritillaria Bulb) too in minimum dosage. I just want to keep this soup as clear and simple as it is.


